DIY - Relay Module
Relay modules available in the market are bundled with unlimited useless components.
I bet unless you really use them, you may always be thinking of knocking them all out before using them in your project. Well, if you feel the need of having a simple relay module, with just the basic components, you are at the right place.
In this tutorial I am going to show you how to make a simple relay module that can be used in any project.
Note: If you do any work with "mains power" such as 120v or 240v AC power wiring, you should always use proper equipment's and safety gears and determine whether you have adequate skill and experience or consult a Licensed Electrician. This projects is not intended for use by children.
Components
----------------

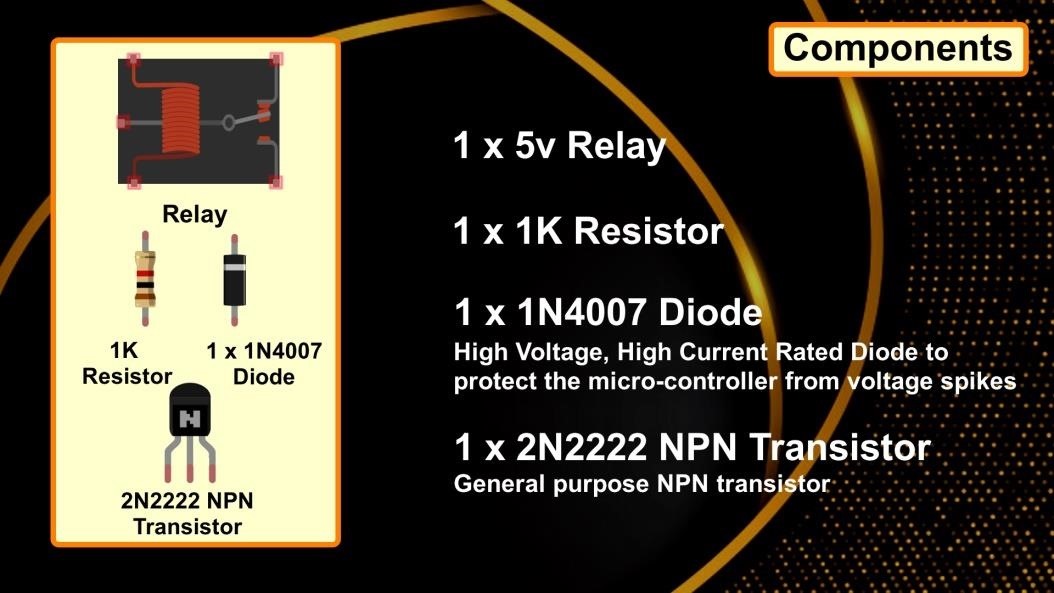
For this project we need:
1 x 5v Relay
1 x 1K Resistor
1 x 1N4007 High Voltage, High Current Rated Diode to protect the micro-controller from inductive kickback from the coil
1 x 2N2222 General purpose NPN Transistor
Working
-----------

When current flows through the coil of the relay, a magnetic field is created that causes a ferrous armature to move, either making or breaking an electrical connection. When the electromagnet is energized, the NO pin is the one which is on and NC pin is the one which is off. When the coil is de-energized the electromagnetic force disappears and the armature moves back to the original position turning on the NC contact. The closing and releasing of the contacts results in powering on and off of the circuits.
Getting Hands on a Relay
---------------------------------

By connecting a multimeter to resistance measuring mode with a scale of 1000 ohm (since the coil resistance normally ranges between 50 ohm and 1000 ohm) we can determine the relay's coil pins. Since the internal suppressing diode is not present inside the relay, the relay has 'no' polarity marked on it. Hence, the positive output of DC power supply can be connected to any one of the coil pins.
Connecting a battery to the right pins can produce a clicking noise when the switch turns on and off.
If you ever get confused between the NO and NC pin, follow the steps below to easily determine that:
- Set the multimeter to resistance measuring mode.
- Turn the relay upside-down to see pins located at its bottom part.
- Now connect one on the multimeter's probe to the pin in between the coils (Common Pin)
- Then connect the other probe one by one to the remaining 2 pins.
Only one of the pins will complete the circuit and will show activity on the multimeter.
To know more about relays please checkout my tutorial number 4: "DRIVING A RELAY WITH AN ARDUINO". youtu.be/uh5dLC6IkQQ
Schema
----------

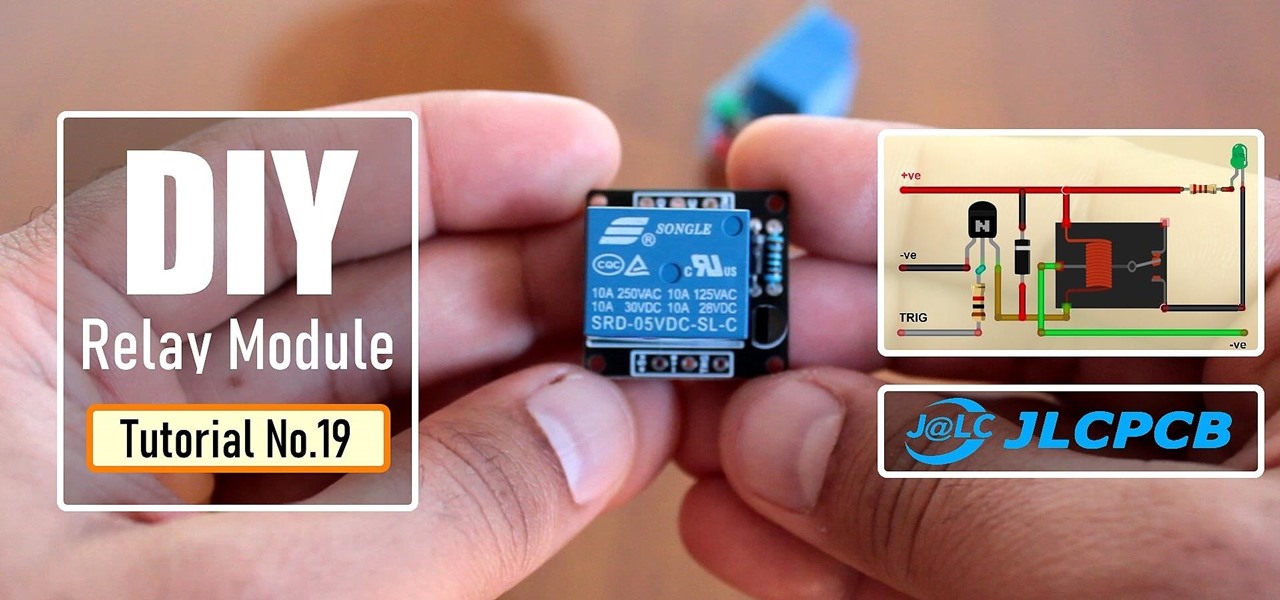
Connect one end of the coil to the +ve terminal of the battery. Then connect the collector of the NPN Transistor to the other pin of the coil. By increasing the base current of the transistor we can magnetize the coil which will move the armature.
Next, we need to connect a diode across the electromagnetic coil. When the transistor is turned off the diode protects the circuit against a voltage spike or the backward flow of current (inductive kickback from the coil). This voltage spike can damage the sensitive electronic components controlling the circuit.
That's it, go ahead and connect the 2nd circuit to the Common and the NO pins of the relay.
Now, you can also make this simple circuit complex by adding two LEDs one for the power indicator and one for the activation indication. You can also add terminal blocks and pin headers and turn this simple circuit into a heavily complex one.
PCB Design
----------------

So, this is how my 10x10 PCB looks like. It has an array of 12 relay modules and few general purpose PCB perforations, which all can be separated into individual boards.
Assembly
-------------

First I am soldering the 1K Resistor and the Diode to the board. Then, I am soldering the NPN Transistor.
And, finally I am soldering the 5v Relay to the board.
Now for this demo video, I am soldering twisted pairs on both side of the board.
Demo
-------

By connecting the TRIG pin of the module to +ve 5 volts, I am lighting up the LED attached to the NO and common pin of the module.
Thanks
----------
Thanks again for checking my post. I hope it helps you.
If you want to support me subscribe to my YouTube Channel: youtube.com/user/tarantula3
Video: youtu.be/3n69b4sdDjk
Full Blog Post: diyfactory007.blogspot.com/2020/08/diy-relay-module.html
BTC: 35ciN1Z49Y1bReX2U7Etd9hGPWzzzk8TzF
DOGE: DDe7Fws24zf7acZevoT8uERnmisiHwR5st
LTC: MQFkVkWimYngMwp5SMuSbMP4ADStjysstm
ETH: 0x939aa4e13ecb4b46663c8017986abc0d204cde60
BAT: 0x939aa4e13ecb4b46663c8017986abc0d204cde60
Thanks, ca again in my next tutorial.


Be the First to Respond
Share Your Thoughts